Hey there, gardening enthusiasts. You might be wondering, what exactly are these okra sap balls, and are these good or bad for your okra plant? The answer is yes, these are actually really good signs for your plants.
Let’s go through the secrets behind these tiny wonders. Okra plants in your home garden can be both pleasing and satiating at the same time.
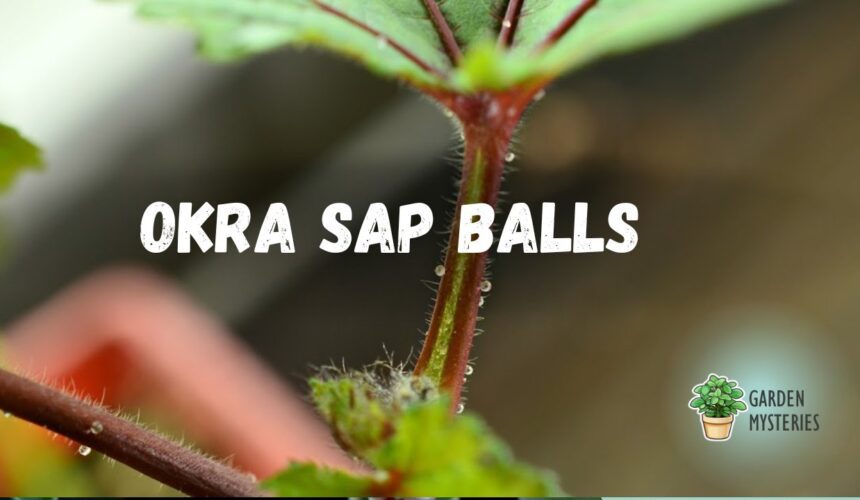
What Is Okra Sap Balls?
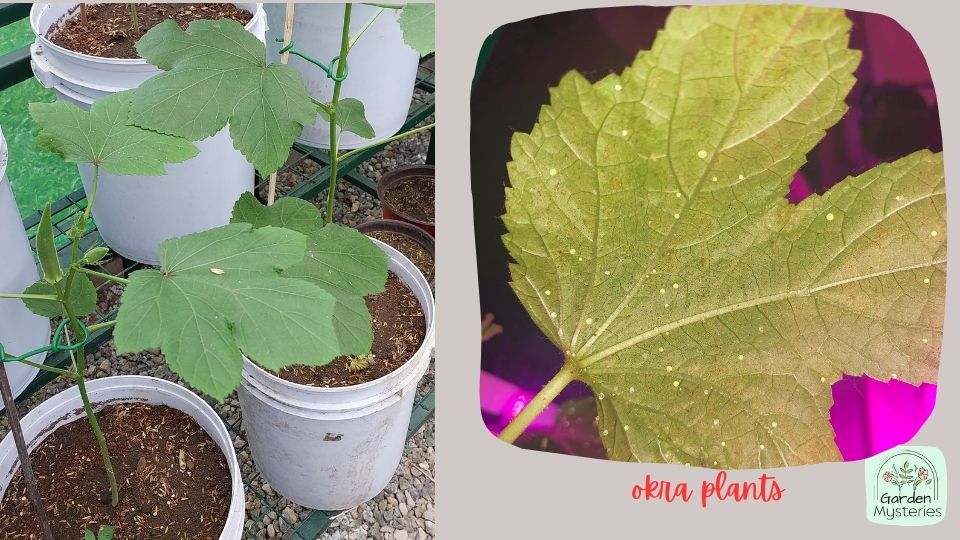
Okra sap balls are intriguing formations that result from the exposure of okra plant sap to air. When you cut or prune the okra plant, its sticky sap reacts with the air and solidifies, forming these clear balls under okra leaves.
Beyond their curious appearance, these okra sap balls serve essential roles in gardening. They act as a protective sealant over plant wounds, warding off potential infections.
Additionally, the compounds in the sap deter pests, functioning as a natural defense mechanism. Also, it reduces the need for chemical pesticides.
Moreover, the sugars and nutrients within the sap contribute to the plant’s growth, providing an extra energy source. Encouraging sap ball formation can be achieved through regular pruning, enhancing plant health and overall garden vitality.
So, okra sap balls exemplify nature’s ingenious way of safeguarding and nurturing these plants. Also, pickled okra is very delicious to have for dinner and the benefits of okra are multidimensional.
Do Okra Sap Balls Bad for Plants?
The crystal-like gel balls found on the underside of Okra leaves or stems are a natural and beneficial occurrence. These small, clear, gel-like balls are not harmful to plants; in fact, they indicate the plant’s good health.
These gel balls serve as magnets for beneficial bacteria, fostering improved disease resistance and enhancing plant nutrition. Their presence is a positive sign that the Okra plant is thriving.
These gel-like structures attract valuable microorganisms that can contribute to the plant’s overall well-being by promoting a healthier environment and bolstering its natural defenses.
So, rest assured, these sap balls are not bad for plants. They are an indicator of a strong Okra plant that’s capable of better withstanding potential diseases and nutrient challenges.
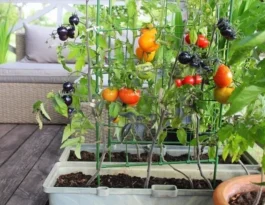
Do you have other vegetable plants in your balcony garden like me? Then you might need some tips on vegetable gardening in your balcony. Also, you can try black cow manure if you need soil nourishment.
What Are the White Spots on Okra Leaves?
The white spots on okra leaves are typically a result of powdery mildew, a prevalent fungal infection. This condition manifests as white fuzzy patches on the leaves, often starting small and progressively expanding to cover the entire leaf surface if not addressed.
Powdery mildew thrives in humid conditions and can weaken the plant by hindering photosynthesis and nutrient absorption. This fungal infection is notably distinguishable by its powdery appearance, resembling a thin layer of flour sprinkled on the leaves.
The infection can spread rapidly, particularly in warm and damp environments. To manage powdery mildew, ensure proper spacing between plants for adequate airflow and sunlight penetration.
Prune affected leaves to prevent the infection from spreading and consider using fungicidal treatments recommended for powdery mildew control.
Regular monitoring and appropriate intervention methods can help keep your okra plants thriving by minimizing the impact of powdery mildew.
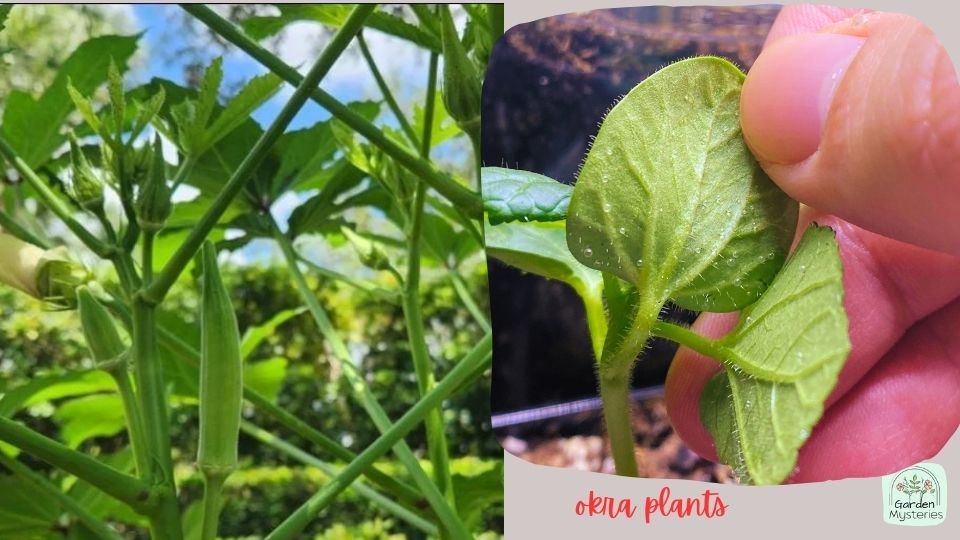
How to Take Care of Okra Plants?
Taking care of okra plants is a rewarding endeavor that requires attention to various aspects to ensure their optimal growth and productivity. Here’s a comprehensive guide on how to care for your okra plants:
Step 1: Site Selection
You should choose a sunny location for your okra plants, as they thrive in full sunlight. Make sure the area has well-draining soil with a slightly acidic to neutral pH level.
Step 2: Soil Preparation
Prepare the soil by adding organic matter such as compost or well-rotted manure. This enhances soil structure, drainage, and nutrient availability.
Step 3: Planting
Plant okra seeds or seedlings after the last frost date. Space the plants about 18 to 24 inches apart in rows that are 3 to 4 feet apart. This spacing provides adequate room for growth and airflow.
Step 4: Watering
You should keep the soil consistently moist, especially during the flowering and fruiting stages. Water deeply but avoid waterlogging, as okra doesn’t tolerate waterlogged soil.
Step 5: Mulching
Apply a layer of organic mulch around the base of the plants to conserve moisture, suppress weeds, and maintain an even soil temperature.
Step 6: Fertilization
Feed your okra plants with a balanced fertilizer at planting and again when they start flowering. Too much nitrogen can lead to excessive foliage growth at the expense of fruit production.
Step 7: Pruning
You should regularly prune the lower leaves that turn yellow and wilt. This improves airflow and helps prevent diseases.
Step 8: Pest and Disease Management
Keep an eye out for common pests like aphids and caterpillars. Introduce beneficial insects or use organic pest control methods if needed.
As for diseases like powdery mildew, you should ensure good spacing, provide proper ventilation, and remove affected leaves promptly.
Step 9: Support
As okra plants grow tall, they might benefit from staking or support to prevent lodging during strong winds or heavy fruiting.
Step 10: Harvesting
Harvest okra pods when they are about 2 to 4 inches long, as larger pods can become tough. You can use a sharp knife or scissors to cut the pods from the okra plant. Also, you should try to harvest every 2 to 3 days during peak production.
Step 11: Storage
Okra is best enjoyed fresh, but you can store harvested pods in the refrigerator for a few days. If you have an abundance, consider blanching and freezing them for longer storage. You can even make pickled okra and keep them for a long time at home.
Step 12: Crop Rotation
Rotate okra with other crops each growing season to prevent soil-borne diseases from building up in the same spot.
Step 13: Overwintering
In regions with mild winters, okra plant can be grown as a perennial. Prune the plants back and mulch around the base to protect the roots from cold temperatures.
FAQs
Can I encourage okra sap ball formation?
Absolutely! Regular pruning or trimming of okra plants exposes the sap to air, leading to the formation of these protective and nourishing sap balls.
Are okra sap balls unique to okra plants?
While sap balls can form on other plants too, they’re particularly noticeable in okra due to the plant’s sticky sap composition.
How can I address okra sap balls if they become excessive?
Excessive sap balls might indicate over-pruning. To balance the plant’s health and growth, ensure you’re not cutting too aggressively and follow recommended care practices.
Don’t say goodbye yet, you can also check out the comparison on Rock Phosphate and Bone Meal for tomatoes.