

DIY Seed Starting Mix | The Best Organic Recipe for Healthy Seedlings
Starting seeds indoors is an exciting way to get a head start on your garden. However, many gardeners overlook one major factor: the seed starting mix. The wrong mix can lead to poor germination, weak seedlings, or even diseases like damping off.
While store-bought mixes are available, they often contain unnecessary additives, cost more than they should, and aren’t always the best for your plants.
Making your own DIY seed starting mix is the best way to confirm fresh seedlings while saving money. With a few simple ingredients, you can create an organic, well-balanced mix tailored to your specific plants.
In this guide, you will learn why seed starting mix matters, what goes into a perfect mix, and how to make your own at home.
What is Seed Starting Mix?
Seed starting mix is a lightweight, well-draining medium designed specifically for germinating seeds. Unlike regular garden soil or potting mix, it is fine-textured, aerated, and sterile to prevent diseases.
Differences Between Seed Starting Mix, Potting Mix, and Garden Soil
- Seed Starting Mix: Fine, sterile, and optimized for seedlings. It holds moisture but drains well, preventing root rot and fungal infections.
- Potting Mix: Contains organic material, compost, and fertilizers meant for mature plants.
- Garden Soil: Heavier and denser, often harboring pathogens and weed seeds. Not ideal for seedlings due to poor drainage.
A good seed starting mix ensures strong and fresh root development. Thus it can provide your plants the best possible start.
Why Use a DIY Seed Starting Mix?
Making your own seed starting mix has several advantages:
- Cost Savings: Store-bought mixes can be expensive, especially for large-scale seed starting.
- Organic and Chemical-Free: Many commercial mixes contain synthetic fertilizers and wetting agents. DIY mixes permit full control over ingredients.
- Customizable: You can adjust the mix based on plant needs, moisture retention, or local climate.
By making your own mix, you ensure your seedlings get a safe, nutrient-rich environment to grow.
Key Ingredients for the Best Seed Starting Mix
A perfect seed starting mix needs three essential components:
Sphagnum Peat Moss or Coco Coir (Base Ingredient)
- Holds moisture while lettng air circulation
- Provides a lightweight, fluffy texture
- Alternative: Use coco coir if you prefer a sustainable, pH-neutral option
Perlite (Aeration & Drainage)
- Keeps the mix loose and well-draining
- Prevents compaction, letting roots to grow freely
- Helps prevent fungal diseases by improving airflow
Vermiculite (Water Retention & Nutrient Holding)
- Absorbs and holds moisture, keeping the mix evenly damp
- Increases nutrient retention, ensuring seedlings stay nourished
Optional Additions
- Compost or Worm Castings: Add a small amount for natural nutrients
- Lime: If using peat moss, add a bit of lime to balance pH
- Mycorrhizae: Beneficial fungi that help plant roots absorb nutrients
DIY Seed Starting Mix Recipe
Now that you know the key ingredients, here’s an easy recipe for an effective DIY mix:
Basic DIY Seed Starting Mix Recipe
- 1 part Sphagnum Peat Moss or Coco Coir
- 1 part Perlite
- 1 part Vermiculite
Instructions:
- Moisten the Ingredients: Lightly mist peat moss or coco coir before mixing to prevent dust from becoming airborne.
- Mix Thoroughly: Combine all ingredients in a large container or wheelbarrow.
- Store Properly: Keep your mix in an airtight container or bag until ready to use.
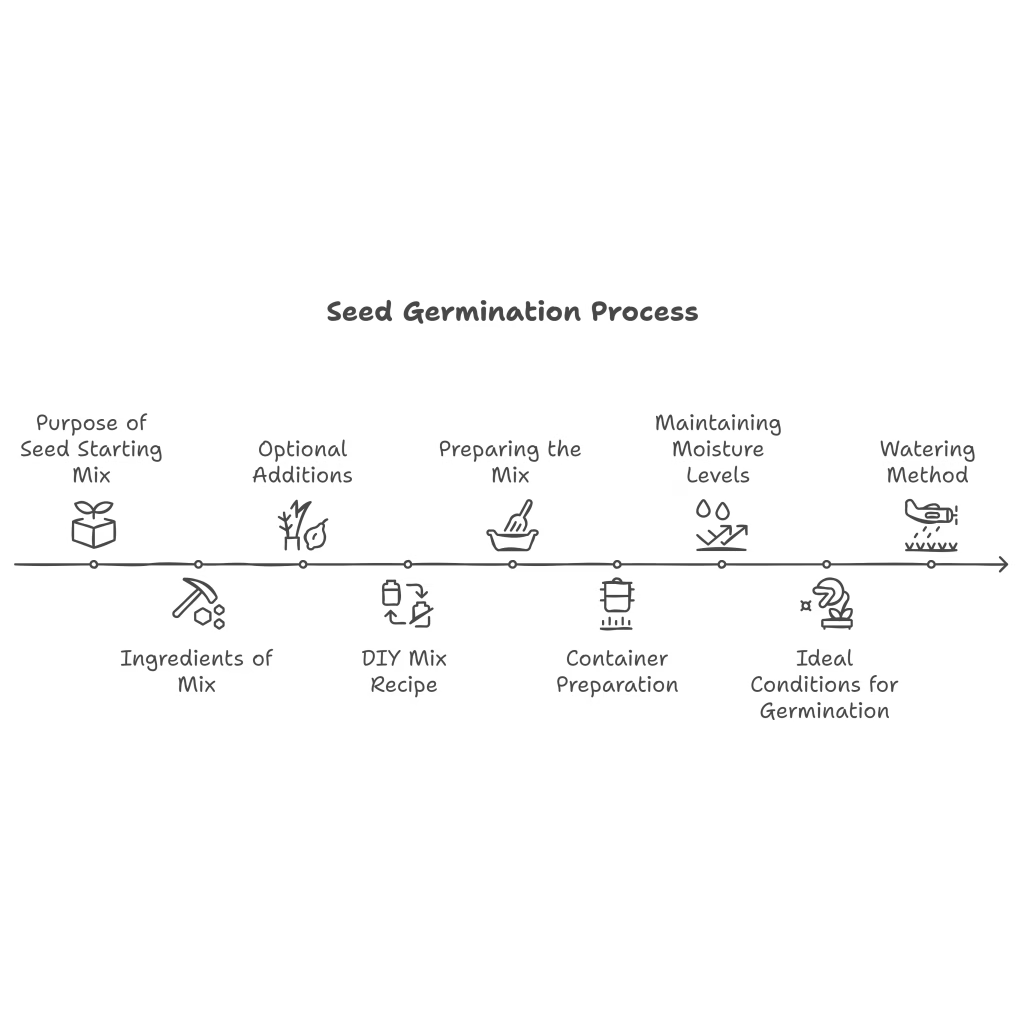
How to Use Your DIY Seed Starting Mix
Using the right mix is just one step, how you plant and care for your seeds also matters.
Preparing Your Containers:
- Use seed trays, small pots, or recycled containers with drainage holes.
- Fill containers loosely with the seed starting mix—do not compact it.
Moistening Before Planting
- Lightly mist the mix with water before sowing seeds.
- Ensure it’s damp but not soggy to prevent seed rot.
Sowing Your Seeds
- Follow seed packet instructions for depth and spacing.
- Cover lightly with more seed starting mix if needed.
- Gently water to settle the seeds.
Providing Proper Conditions
- Light: Most seeds need 12-16 hours of light daily. Use a grow light if natural sunlight is insufficient.
- Humidity: Cover trays with a humidity dome or plastic wrap until seeds sprout.
- Watering: Use a spray bottle or bottom watering method to keep the mix moist but not waterlogged.
How Subsoil and Topsoil Affect Your DIY Seed Starting Mix
When making a seed starting mix, it’s common to wonder if subsoil or topsoil can be used. While these layers are essential in outdoor gardening, they’re not ideal for indoor seed starting.
Topsoil is the upper layer of natural soil, often rich in organic matter. It works well in garden beds, but in seed trays, it tends to hold too much moisture and may compact easily. This limits air flow and slows root growth.
Subsoil, found underneath the top layer, has more clay and fewer nutrients. Its heavier texture isn’t suited for the delicate roots of young plants.
For best results, skip both in your seed mix. Instead, use a light blend of coconut coir, perlite, and a small amount of Black Kow composted manure. This creates a balanced mix that supports strong root development without getting waterlogged. If you’re reusing containers, rinsing them with a solution like Physan 20 helps keep your setup clean and fresh.
By avoiding dense soil layers and focusing on moisture balance and air flow, you give your seeds the best chance to grow into healthy, vibrant plants.
Major Facts About DIY Seed Starting Mix: Ingredients, Benefits, and Best Practices
| Category | Details |
| Seed Starting Mix Purpose | Provides a lightweight, well-draining, sterile environment for seed germination. |
| Why Not Use Garden Soil? | Too dense, poor drainage, may contain pathogens and weed seeds. |
| Main Ingredients | Peat Moss/Coco Coir (moisture retention), Perlite (aeration & drainage), Vermiculite (water & nutrient retention). |
| Optional Additions | Compost (nutrients), Lime (pH balance for peat), Mycorrhizae (root support). |
| DIY Mix Recipe | 1 part Peat Moss or Coco Coir + 1 part Perlite + 1 part Vermiculite. |
| How to Prepare the Mix | Moisten ingredients, mix well, store in an airtight container. |
| Container Preparation | Use trays or small pots with drainage holes, loosely fill with mix. |
| Moisture Levels | Keep mix damp but not soggy, mist lightly before sowing seeds. |
| Ideal Conditions for Germination | 12-16 hours of light, humidity dome, temperature 65-75°F. |
| Watering Method | Spray bottle or bottom watering to avoid overwatering. |
| Transplanting Seedlings | Move to potting mix when seedlings have 2-3 sets of true leaves. |
| Avoiding Damping Off | Ensure air circulation, avoid excess moisture. |
| Hardening Off | Gradually expose seedlings to outdoor conditions before planting. |
Transitioning from Seedlings to Potting Mix
Once your seedlings develop their first true leaves, they need more nutrients and space to grow.
When to Transplant?
- When seedlings have 2-3 sets of true leaves.
- If roots start coming out of the drainage holes.
How to Transplant?
- Gently loosen the seed starting mix around the seedling.
- Transfer the seedling to a potting mix with added nutrients.
- Water thoroughly and keep in indirect light for a day to reduce transplant shock.
Pro Tips for Better Seedling Growth
- Avoid Damping Off: Ensure good air circulation and avoid overwatering.
- Maintain Proper Temperature: Most seeds germinate best at 65-75°F.
- Harden Off Before Moving Outdoors: Expose seedlings to outdoor conditions gradually over a week before transplanting them into your garden.
Using Pro Mix Potting Mix for Seed Starting Success
If you prefer a ready-to-use option, Pro Mix potting mix can be a great choice for seed starting. Known for its fine texture and good drainage, Pro Mix products are made primarily with peat moss, making them similar to a DIY seed starting mix. Some blends, like Pro Mix BX or Pro Mix HP, are light, airy, and excellent for young seedlings.
Always check the label to avoid versions heavily loaded with fertilizers or moisture-retaining crystals, as seedlings need a gentle start. To boost drainage and prevent compaction, you can mix in a little extra perlite or vermiculite. This helps create the perfect environment for healthy root development and strong growth.
Whether you make your own or start with a trusted brand like Pro Mix, choosing a lightweight, sterile mix is key to avoiding common seed-starting problems like damping off and root rot. With the right growing medium, your seeds will have the fresh start they deserve.
Conclusion
Making your own DIY seed starting mix is one of the best ways to ensure well-off seedlings while keeping costs down. With just three main ingredients, peat moss (or coco coir), perlite, and vermiculite, you can create a lightweight, well-draining, and nutrient-holding mix.
By customizing your mix and following proper seed-starting techniques, you set your plants up for success from day one. Try making your own batch, experiment with different ratios, and watch your seedlings thrive.


