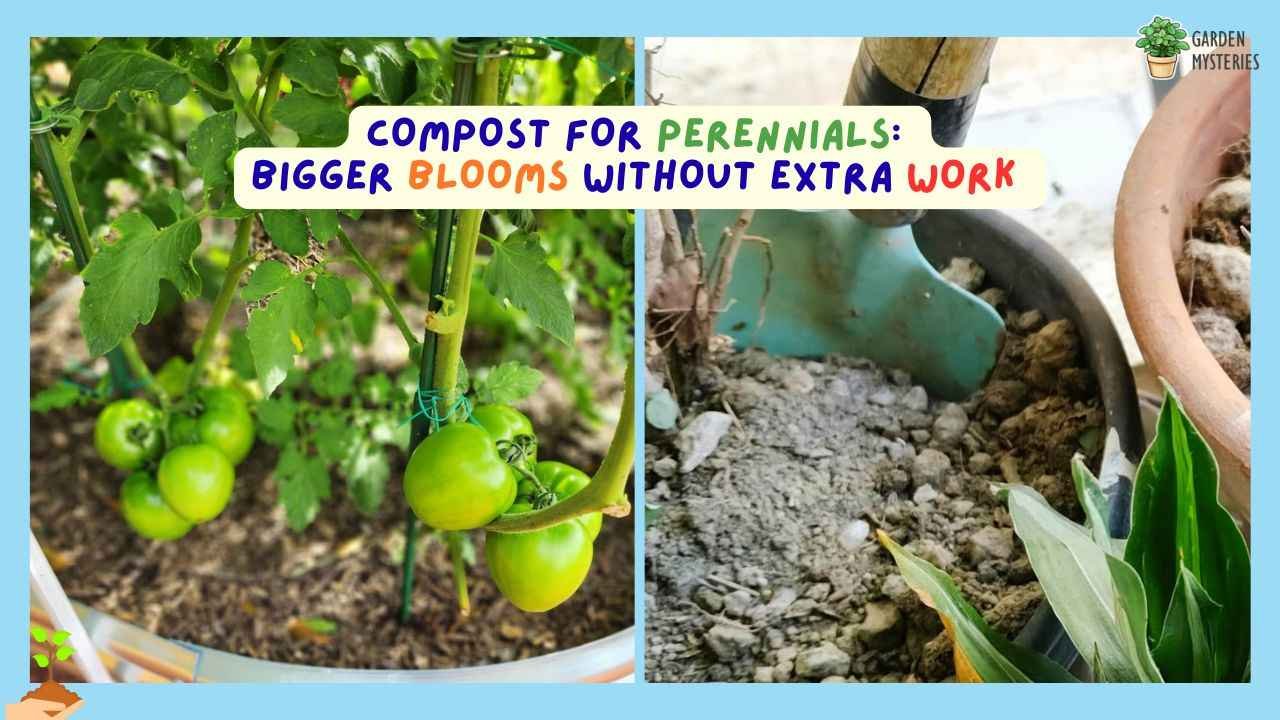
Have you ever wondered why some perennials bloom bigger every year while others quietly fade? The gardeners with the big blooms share one habit: yearly compost.
So why does compost for perennials work?
Compost for perennials feeds the soil slowly, holds water between rains, and loosens heavy ground so roots can spread. You get bigger blooms and fewer rescue missions, with one simple yearly habit.
Gardening should feel easy, not like a puzzle. Grab a coffee and read on. In a few minutes, you will know exactly what to buy and when to spread it.
A Friendly Disclosure: This page may include ads and affiliate links. If you make a purchase through an affiliate link, we may earn a small commission at no extra cost to you. Thank you for supporting our content!
Why Compost Works So Well For Perennials
Perennials come back every year, so they pull from the same patch of soil again and again. Compost refills that pantry slowly, so your plants never run on empty all season.
Gardeners often ask me about compost or manure for their beds. Compost is the safer pick, because it is gentler on roots and has no strong smell. Fresh manure can burn young roots.
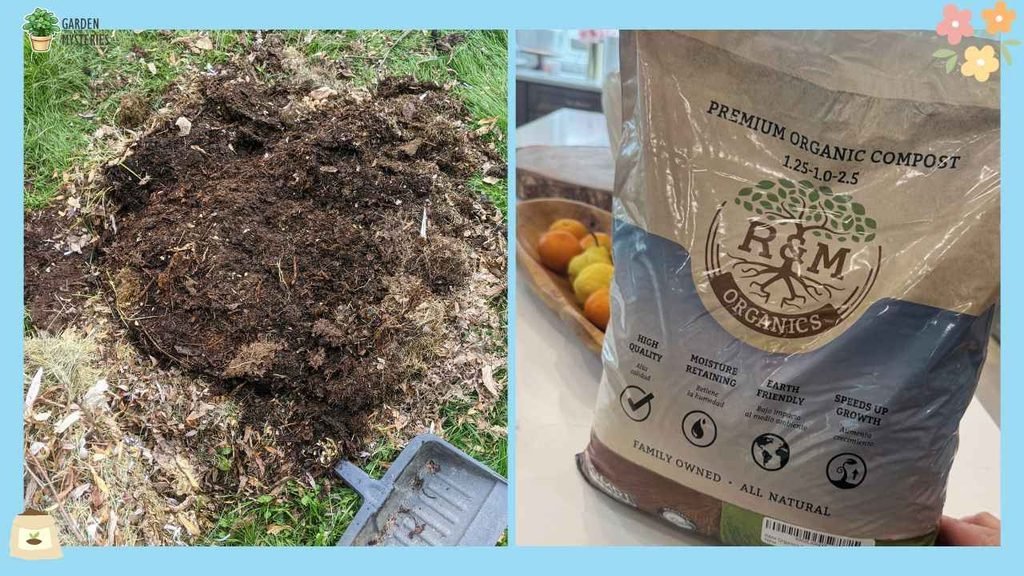
Adding compost to garden beds each year pays you back in four ways:
- Better Soil Structure: Clay breaks apart so roots reach deeper, and sandy soil holds water longer. Coneflowers and daylilies settle in faster.
- Steady Food: Nutrients release a little at a time. Hostas grow bigger leaves, and salvia keeps blooming into late summer.
- Water Savings: Compost soaks up moisture like a sponge. My phlox stopped wilting on hot July afternoons.
- Healthier Roots: Friendly soil life keeps roots strong, so fewer plants fail over winter.
How To Spot Finished Compost That Is Safe For Perennial Beds
Bagged compost is not all the same. A quick check with your eyes, nose, and hands tells you if it is ready for your beds in under a single minute.
Look for these signs:
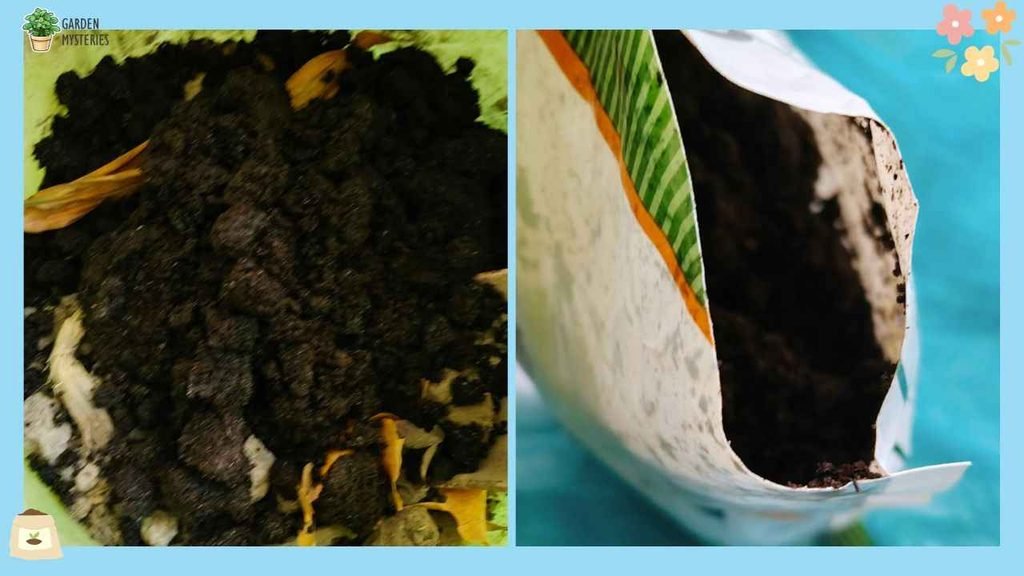
- Dark And Crumbly: It looks like chocolate cake crumbs and falls apart in your fingers.
- Earthy Smell: It smells like a forest after rain. A sour or ammonia smell means it is still cooking.
- No Recognizable Scraps: You should not see banana peels, twigs, or wood chunks.
- Cool Temperature: A warm bag is still breaking down, so give it time.
Skip these:
- Cheap “Garden Soil” Bags: Many are mostly plain topsoil. Mixing topsoil with compost yourself costs less and gives you control over the quality.
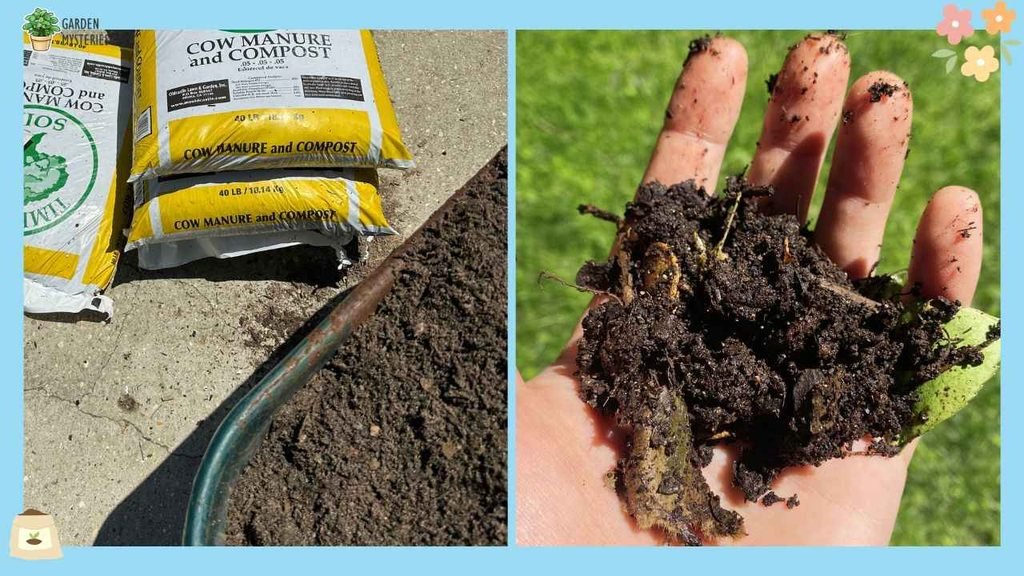
- Fresh Manure Mixes: Organic compost with cow manure works well once it has aged for about six months. Fresh manure burns roots.
- Weedy Bulk Piles: Cheap piles often sprout dandelions by next week.
Best Seasons To Add Compost To Perennials
Timing decides how much your plants benefit. Two windows work well, and one set of dates can cause trouble. Here is how I read the seasons after 17 years of planting.
Spring Topdressing For Active Growth
Spread compost when new shoots are 2 to 3 inches tall. Plants wake up hungry, and the food reaches the roots right when growth starts. In my own beds, the plants I topped up in spring grew fuller by June.
Fall Topdressing For Winter Protection
Fall is my favorite window. A 1 inch layer after the first light frost works like a blanket through winter and feeds roots while they rest. Bagged options like Black Kow and Black Velvet compost are easy to find in fall, since garden centers stack them near the door.
Times When Compost Does More Harm Than Good
Skip midsummer heat, which bakes compost into a hard crust, and frozen ground, where it just washes away. Potting soil is another trap.
Well, my community folks often ask me about compost or potting soil for beds in such a season, and my answer is always compost. Potting soil suits pots, holds too much water in the ground, and can drown crowns.
Applying Compost To Established & New Perennials
Compost takes about ten minutes per bed to spread, and each step protects your plants. Follow these five steps, and you will skip the mistakes I made in my early years.
Step 1: Clearing The Bed First
Pull weeds and rake away old leaves. Compost works best when it touches bare soil. Leave healthy roots alone, and cut back dead stems so slugs have nowhere to hide.
Step 2: How Much Compost To Spread
One to 2 inches is plenty. The best compost for soil is dark, crumbly, and finished, and last year I used Purple Cow compost that passed that test. A 1 inch layer was enough for my beds. Thicker layers do not give faster results. They only waste money.
Step 3: Keeping Compost Away From The Crown
Leave a 2 inch gap around the center of each plant, where the stems meet the soil. Picture a donut. The compost forms the donut, and the plant sits in the hole.
Step 4: Mixing Compost Into Planting Holes For New Perennials
Fill the hole with one part compost and three parts native soil. Pure compost sinks and holds water, which can drown young roots. Mix well, set the plant at the same depth as its pot, and press gently around the base.
Step 5: Watering After Application
Water slowly for five minutes per plant. The water pulls nutrients down to the roots and settles the compost so wind cannot blow it away. Skip this step if rain is coming tonight.
Common Compost Mistakes And How To Fix Them
Mistakes happen to every gardener, including me, and most fixes are quick. Spot your problem below, and you can rescue your plants this weekend. You need no special tools.
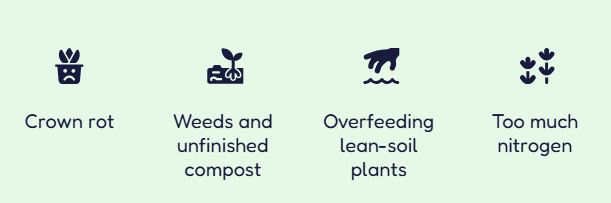
Crown Rot From Compost Piled On Stems
The signs are mushy, brown stems at soil level and leaves that wilt even after watering. Pull the compost back right away, let the base dry for a week, and trim off the soft parts. Next time, keep that 2 inch gap.
Weeds And Unfinished Compost Problems
Weeds that sprout after spreading came from a bag that never got hot enough to kill seeds. Hand pull them while young, then add a thin layer of shredded leaves. Unfinished compost can also steal nitrogen, which turns leaves yellow.
Also, make sure to stop adding it and wait. Some gardeners add vinegar in compost to fight weeds. Skip it, because vinegar burns roots and wipes out helpful soil life.
Overfeeding Lean-Soil Plants Like Sedum And Lamb’s Ear
Sedum and lamb’s ear thrive on poor soil. Rich compost turns them floppy and soft, and they split open in the middle. Rake the compost off and leave them alone next year. A sprinkle of coarse sand improves drainage.
Leggy Growth From Too Much Nitrogen
Tall, weak stems with few blooms mean too much nitrogen. Even a natural compost for garden beds can overfeed if you spread thick layers every season. Skip compost for one year, and pinch stems back by one third in early summer.
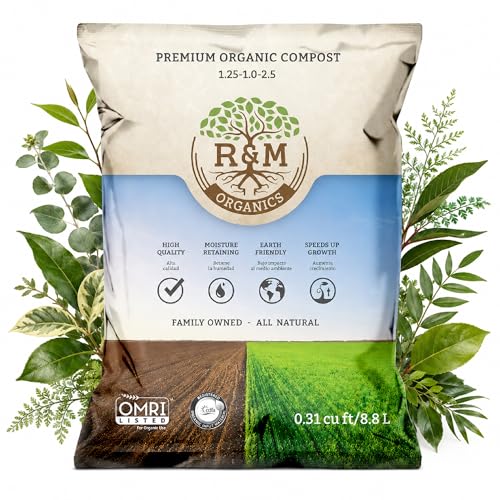
Here I have picked some bagged compost for your garden:


FAQs
Once a year is enough for most beds. Pick spring or fall and stick with it. Heavy feeders like hostas and delphiniums enjoy a full 2 inch layer, while lean plants need far less.
Yes. Layers deeper than 2 inches smother roots, hold too much water, and cause floppy growth. If you went heavy, rake the extra off and water gently. Plants usually bounce back in a few weeks.
Both work, so pick the one that fits your calendar. Spring gives a quick growth boost. Fall protects roots through winter and feeds them early. I prefer fall because spring gets busy.
Most perennials do fine on compost alone. Add fertilizer like 10 10 10 fertilizer for perennials only if leaves turn pale or growth stays slow after a full season. Then use a light, slow release feed and skip extra nitrogen.
End Note
Healthy perennials do not need fancy tricks. One thin layer of finished compost, spread at the right time and kept away from the crown, handles most of the work. Your plants will thank you with fuller growth and brighter blooms.
Pick one bed this weekend, start small, and watch how it grows next season. Tell me in the comments how your plants respond. I would love to hear your results, and your questions are welcome too.
Disclosure: This blog post may display ads and include affiliate links. We may receive a small commission when you make a purchase through these links, at no additional cost to you.