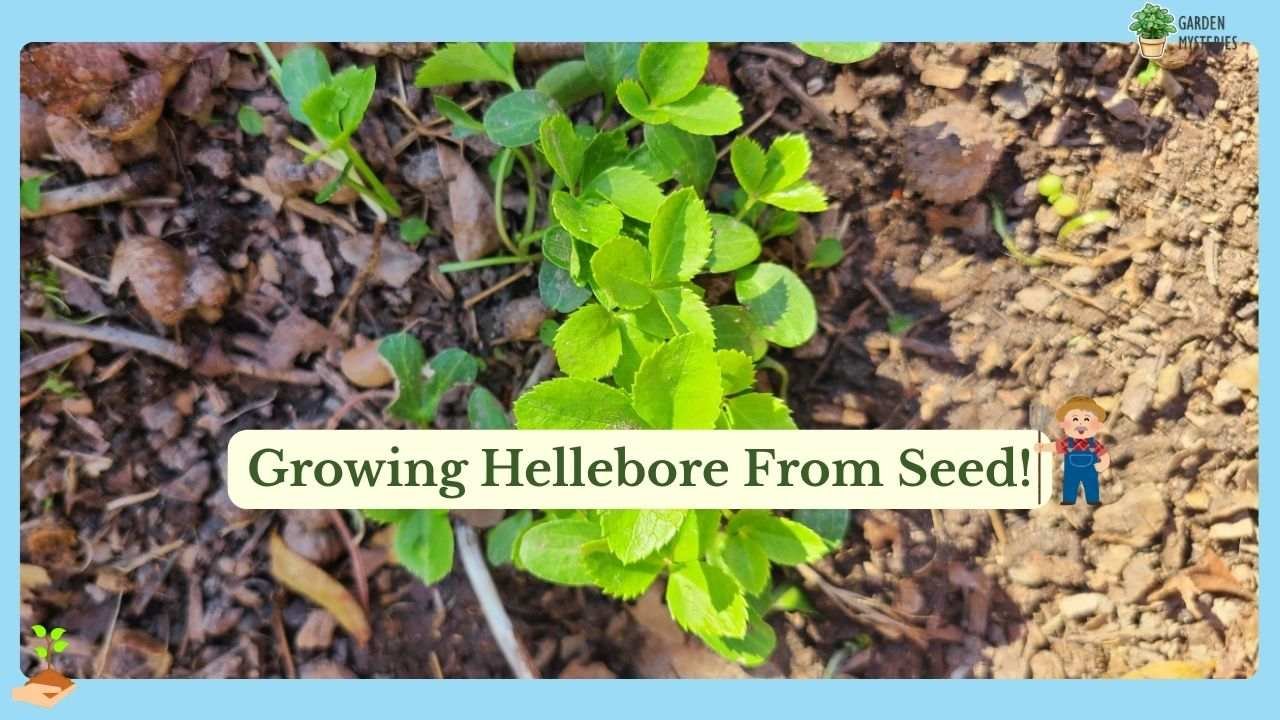
Growing hellebore from seed is an affordable way to fill a shady garden with beautiful flowers, although patience is essential. Fresh seeds and suitable growing conditions give you the best chance of success.
Unlike flowers that bloom within a few weeks, hellebores take time to establish. Their seeds may germinate slowly, but the reward is a collection of long-lived plants suited to cooler, shaded garden spaces.
If you’re ready to grow these elegant flowers without spending a fortune on mature plants, follow this guide for practical sowing tips, seedling care, and solutions to common problems.
Note: This post may contain affiliate links, which may earn us a commission. Ads may also appear through Google AdSense. These do not affect our editorial opinions.
Can You Grow Hellebore From Seeds?
Yes, growing hellebore from seed is possible, even for beginner gardeners. You can collect fresh seeds from mature plants or purchase them from a reliable supplier. The main challenge is getting them to germinate.
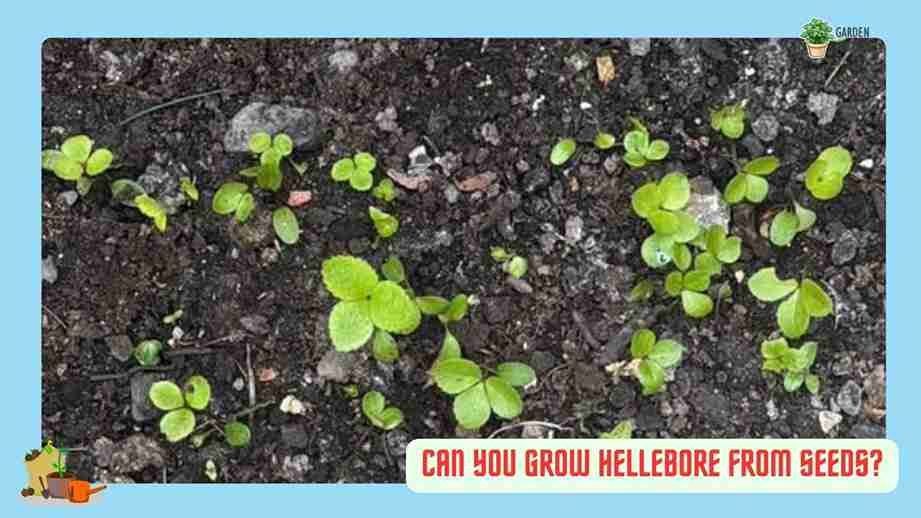
Propagating hellebores from seed takes longer than buying established plants, but it lets you grow several plants at a lower cost. Keep in mind that seedlings from hybrid varieties may produce flowers with different colors or patterns from the parent.
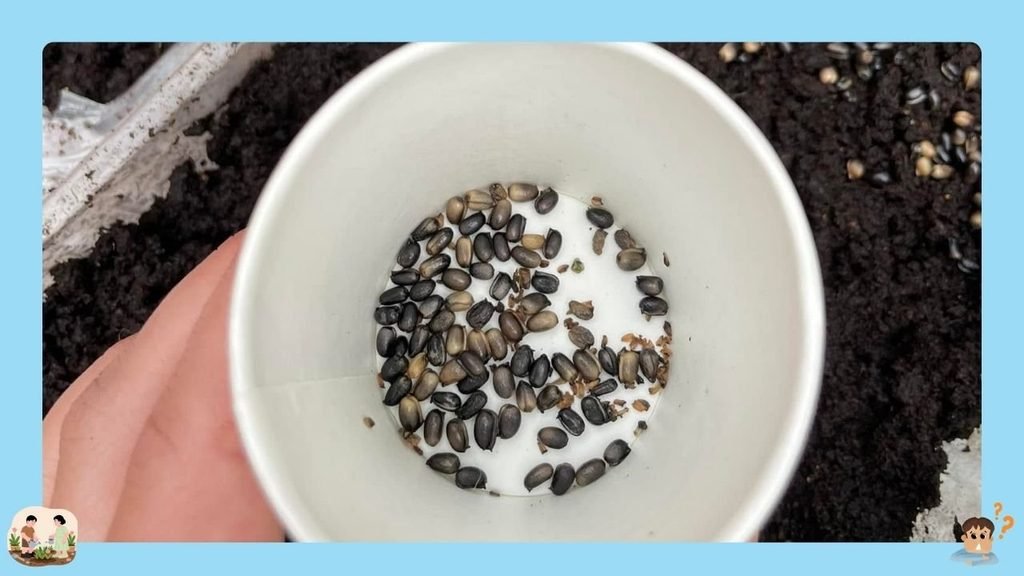
Before planting, learn what hellebore seeds look like so you can recognize healthy seeds. They are generally small, rounded to oval, and dark brown or black when mature, depending on the variety. Freshness matters more than appearance alone.
The Best Time to Sow Hellebore Seeds
The best time to sow hellebore seeds is usually soon after they ripen in late spring or summer. Fresh seeds are generally more reliable than seeds that have been stored for long periods.
Summer Sowing
Collect mature seeds when the pods begin to split, then sow them promptly in pots or a prepared seedbed. Keep the growing medium moist and protect the seeds from drying out.
Autumn Sowing
Autumn sowing allows outdoor temperatures to provide natural seasonal changes that help seeds break dormancy. Choose a sheltered location where rain can reach the pots without leaving the soil waterlogged.
Buying Seeds
If you’re buying helleborus orientalis seeds, look for a supplier that specifies when they were harvested. Freshly collected seeds are preferable because prolonged storage can reduce germination success.
Growing Hellebores From Seed: Step-by-Step Guide
Successful growing hellebore from seed starts with fresh seeds, a suitable potting mix, and patience. You don’t need expensive equipment, but you do need to keep the seeds from drying out while they go through their natural germination cycle.
Step 1: Collect Fresh Seeds
Watch mature hellebore flowers after blooming. Their centers develop seed pods that gradually swell and ripen. Collect the pods just before they split open, then gently remove the seeds.
Fresh seeds are preferable to old, dried-out ones. The Royal Horticultural Society’s seed-collecting guide specifically recommends sowing hellebore seeds promptly because their viability declines during storage.
Step 2: Prepare Pots and Growing Mix
Choose pots or seed trays with drainage holes to prevent excess water from collecting around the seeds. Fill them with a fine, moisture-retentive seed-starting mix that drains freely.
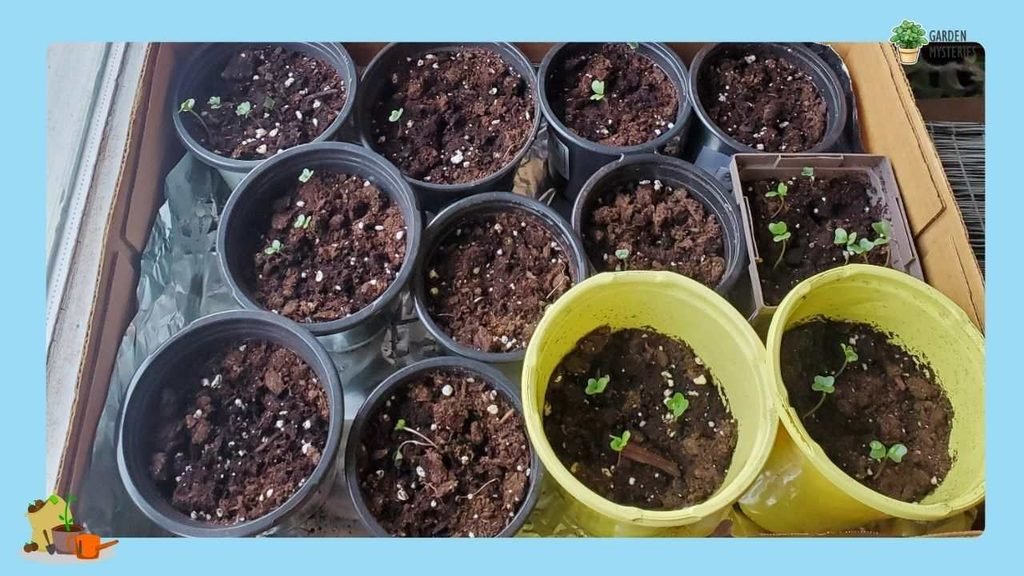
You can use a suitable commercial seed-starting mix, including products from Miracle-Gro or FoxFarm, provided the specific product is appropriate for seed sowing. Avoid heavy garden soil, which can compact around tiny roots. A raised bed soil mix may suit outdoor planting if it drains well, but a lighter seed-starting mix is usually better for small pots.
Step 3: Sow the Seeds
Spread the seeds across the moist growing mix and cover them lightly according to the supplier’s instructions. Label each pot with the plant name and sowing date so you can track progress.
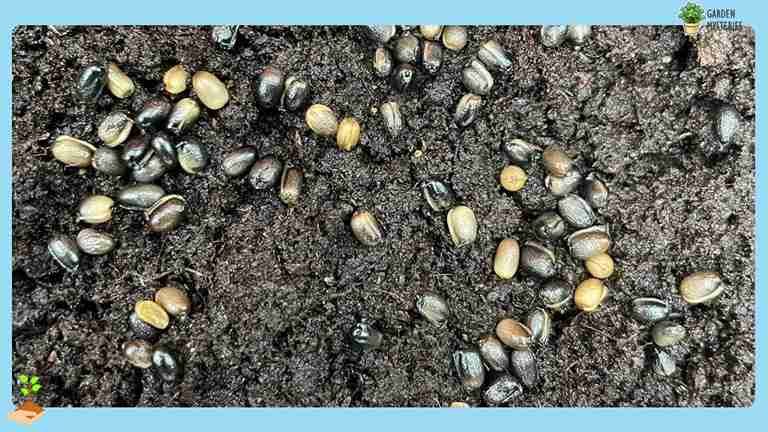
Water gently with a fine spray to avoid washing the seeds away. Keep the medium moist, not saturated, and place the containers somewhere sheltered outdoors where they can experience natural seasonal temperature changes.
Step 4: Allow Warm and Cold Periods
Hellebore seeds often need a warm period followed by a cold period before they germinate. The RHS recommends around six weeks at 15-18°C, followed by another six weeks at approximately 5°C for stored seeds.
Outdoor sowing can provide these changes naturally in suitable climates. If you live somewhere hot year-round, you may need a controlled approach to temperature management rather than relying on outdoor weather alone.
Step 5: Watch for Germination
Check the pots regularly without digging up the seeds. Maintain gentle moisture and protect the containers from heavy rain, strong sun, and animals that might disturb the growing mix.
Germination may be uneven, so don’t discard a pot simply because nothing appears after a few weeks. Some seeds take much longer than others, particularly if they were stored before sowing.
Step 6: Transplant Carefully
Once seedlings have developed true leaves and are large enough to handle, move them into individual small pots. Hold each seedling by a leaf rather than squeezing its delicate stem.
Use a well-drained potting mix, water gently after transplanting, and keep the young plants in sheltered light shade while they establish. Move them into their permanent garden position once they’re sturdy enough to handle outdoor conditions.
Hellebores Growing Conditions
Hellebores naturally suit woodland-style gardens, where they receive filtered light and grow in soil that stays moist without becoming soggy. Matching these conditions helps hellebore sprouts establish strong roots and healthy leaves.
- Light: Choose partial or dappled shade. Some varieties tolerate more sun in cooler climates.
- Soil: Use loose, well-drained soil rich in organic matter.
- Water: Keep the soil evenly moist during germination and early growth.
- Temperature: Provide natural seasonal changes, including cooler conditions, where possible.
- Compost: Mix in mature Black Gold garden compost if the soil needs more organic matter. Avoid over-enriching seed-starting mix.
- Drainage: Use pots with holes or a raised bed if garden soil stays waterlogged.
The RHS hellebore growing guide recommends light or dappled shade and soil that is neither very dry nor waterlogged.
Caring for Hellebore Seedlings and Young Plants
Young hellebores need steady care, but they don’t require constant attention or heavy feeding. Focus on moisture, suitable light, and protecting delicate roots while the plants develop.
Watering Without Overwatering
Check the soil regularly and water when the surface begins to dry. Seedlings need moisture, but waterlogged compost can suffocate roots and encourage rot. Use a gentle stream or watering can to avoid disturbing small plants.
Providing the Right Light
Keep seedlings in bright, indirect light or light shade. Strong midday sun can dry small pots quickly and scorch tender leaves. If growth becomes weak and stretched, gradually move the plants somewhere brighter without exposing them suddenly to intense sunlight.
Feeding Young Plants
Avoid feeding seedlings heavily before they establish. Once they have several true leaves and are growing actively, a weak, balanced fertilizer may help if the potting mix contains few nutrients. A homemade flower fertilizer is not essential, and concentrated homemade mixtures can damage delicate roots.

- IDEAL FOR TRANSPLANTED SEEDLINGS: This fertilizer is formulated for use on transplanted seedlings and re-potted containe…
- PHOSPHORUS FOR EARLY GROWTH: Our fertilizer supplies phosphorus, a nutrient necessary for the early stages of plant grow…
- SUPPORTS ROOT DEVELOPMENT: This fertilizer helps support root development with included mycorrhizal fungi that increase …
Transplanting at the Right Time
Move seedlings into individual pots when they’re large enough to handle safely. Keep as much of the root system intact as possible, water after transplanting, and avoid moving them into extreme heat or direct afternoon sun while they recover.
Protecting Seedlings From Stress
Check leaves and soil for signs of pests, disease, or drying. Remove damaged material and space containers so air can circulate. Wear gardening gloves when handling hellebores because their sap may irritate sensitive skin, and keep seeds and plants away from children and pets.
Common Problems When Growing Hellebores From Seed
Slow growth doesn’t always mean your seeds have failed. Hellebores can take their time, but poor seed quality, excess water, and unsuitable temperatures can prevent successful germination. Identifying the cause helps you avoid wasting healthy seeds.
Seeds Fail to Germinate
Old seeds are a common reason for disappointment. Start with fresh seeds and follow the appropriate warm and cold periods. If nothing appears, keep the pot labelled and moist while allowing more time for germination.
Seeds Rot Before Sprouting
Constantly wet compost can cause seeds to rot before they develop roots. Check drainage holes, remove standing water, and use a loose growing medium. Water only when needed instead of keeping the pot saturated.
Seedlings Wilt or Develop Yellow Leaves
Wilting can indicate dry soil, damaged roots, or excessive moisture. Check the growing medium before watering again. Remove badly damaged leaves and keep young plants in a sheltered location while they recover.
Pests and Fungal Problems
Slugs, snails, and fungal diseases can damage young plants. Inspect pots regularly, remove affected leaves, and avoid overcrowding. Once plants mature, a layer of the best natural organic mulch, such as leaf mould, can help retain moisture. Keep mulch away from the crowns of young plants.
Seeds Spill From Mature Pods
Mature hellebore seed pods can split and scatter seeds around the parent plant. Collect pods just before they open if you want to control where seedlings grow. Handle the pods carefully and wear gloves if your skin is sensitive.
Hellebores Seed Germination, Plant Growth, and First Blooms
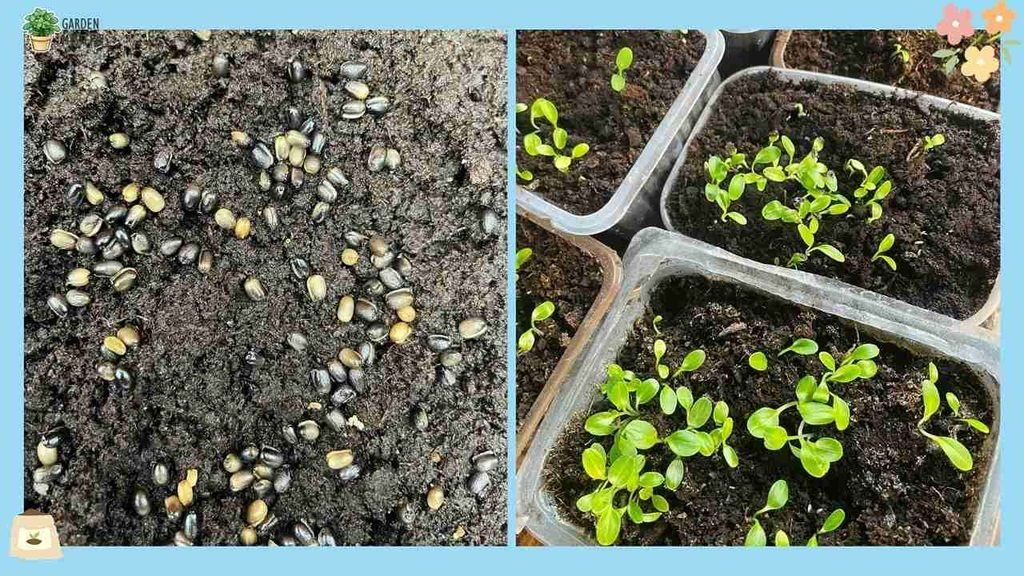
Hellebores follow a slower growing cycle than many familiar garden flowers. After sowing, seeds may remain dormant while they experience suitable seasonal conditions. Once germination begins, small roots develop first, followed by shoots and leaves.
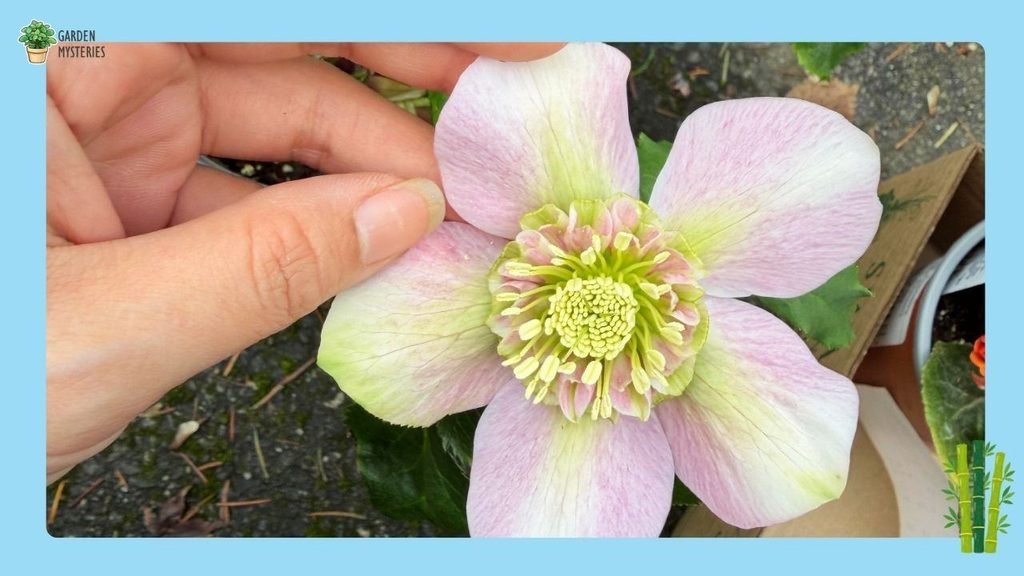
As the seedlings grow, they gradually develop stronger roots and larger leaves. Keep them in suitable light, maintain even moisture, and transplant them carefully as they become established. Avoid expecting rapid growth during periods when conditions are unsuitable.

- Feed your raised bed for up to 3 months
- Help feed all fruits, flowers, vegetables and herbs
- Use with Miracle-Gro Raised Bed Soil for an even greater harvest (vs unfed plants)
The Clemson Cooperative Extension hellebore guide notes that most seedlings take two to three years of growth before flowering. The exact timing varies with species, growing conditions, and seedling development.
If your plants produce leaves but no flowers, don’t assume you’ve done something wrong. Give them time, protect their roots, and maintain suitable growing conditions. The first blooms may take patience, but growing hellebores from seed offers an economical way to establish a beautiful collection.
Find the right fertilizer for your plants in 10 seconds:
Free Tool – Garden Mysteries
Find the Right Fertilizer for Your Indoor Plants
Get a personalized fertilizer recommendation – no guesswork needed.
Try the Fertilizer Finder →End Note
Growing hellebore from seed is a rewarding project for gardeners who don’t mind waiting for results. Fresh seeds, suitable temperatures, and well-drained soil give you a stronger start, while careful watering helps young seedlings establish.
Keep your pots labelled, avoid disturbing seeds unnecessarily, and give each plant time to mature. With steady care and realistic expectations, you can grow healthy hellebores and enjoy their distinctive blooms for years to come.
Disclaimer: This post may contain Amazon affiliate links, which may earn us a commission. Ads may also appear through Google AdSense. These do not affect our editorial opinions.